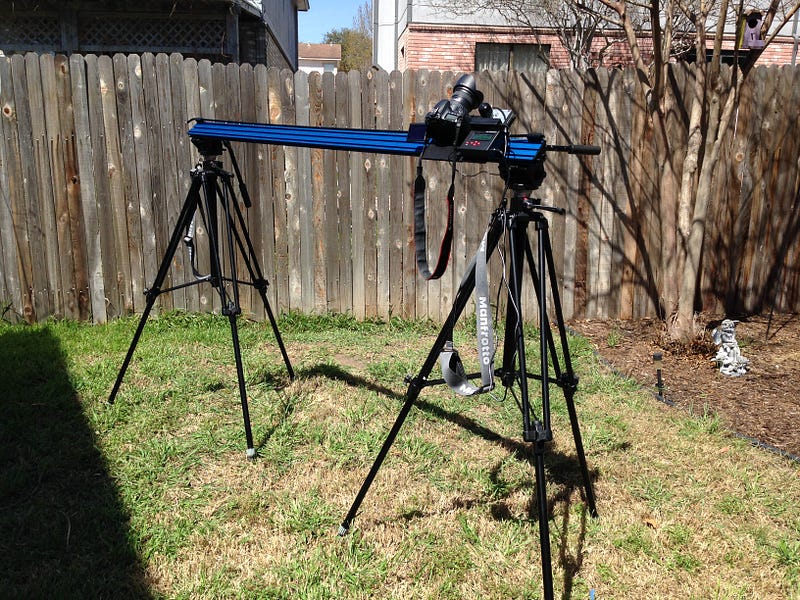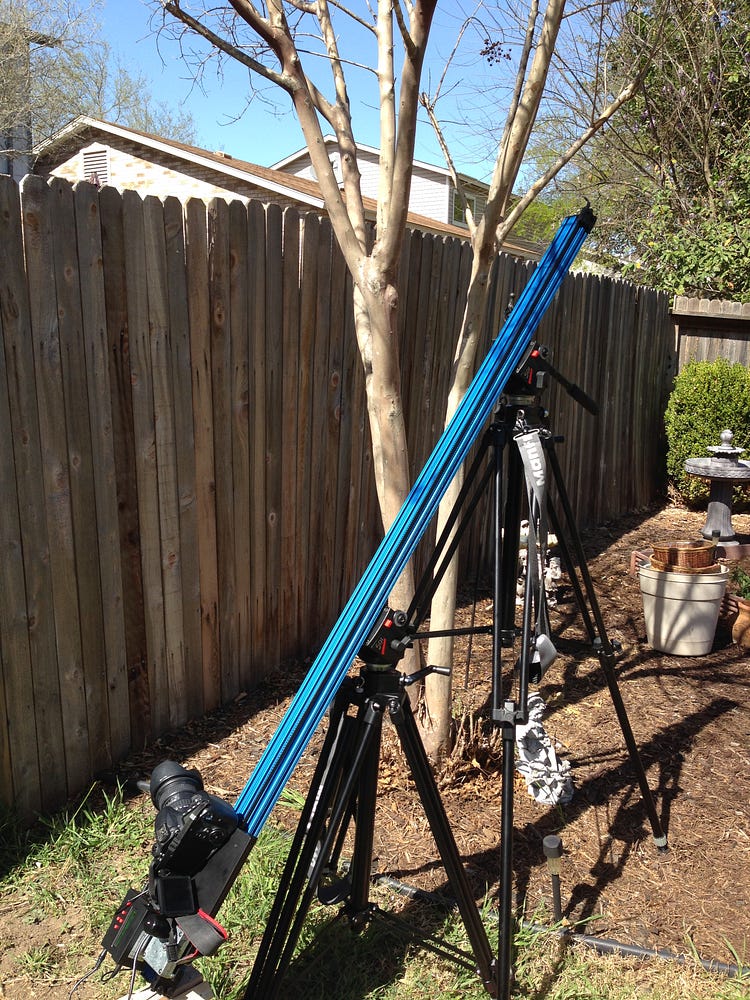
When you first open up the packaging of an automated slide arm, it can be pretty intimidating. It usually consists of the arm itself, the plate, a battery pack, a timer, and a bag full of nuts, bolts, screws, and weird looking little knick knacks. In addition to the slide arm equipment, you’re going to want to have two steady tripods that are the same. My suggestion is that you have a designated bag for all the little pieces and a box for the plate, timer, and battery to keep everything all together.

When assembling the plate it makes it a lot easier if you mount the camera onto the plate before starting anything. It mounts just like it would onto a tripod with the threat pictured above. I’ve learned from experience that the thread that comes with the slide arm package does not necessarily fit all cameras. So make sure you do a test fit before you go shoot on location. For example the thread listed above is too large for a Cannon DSLR 6D but it fits perfectly for the Cannon DSLR 60D and T5i.
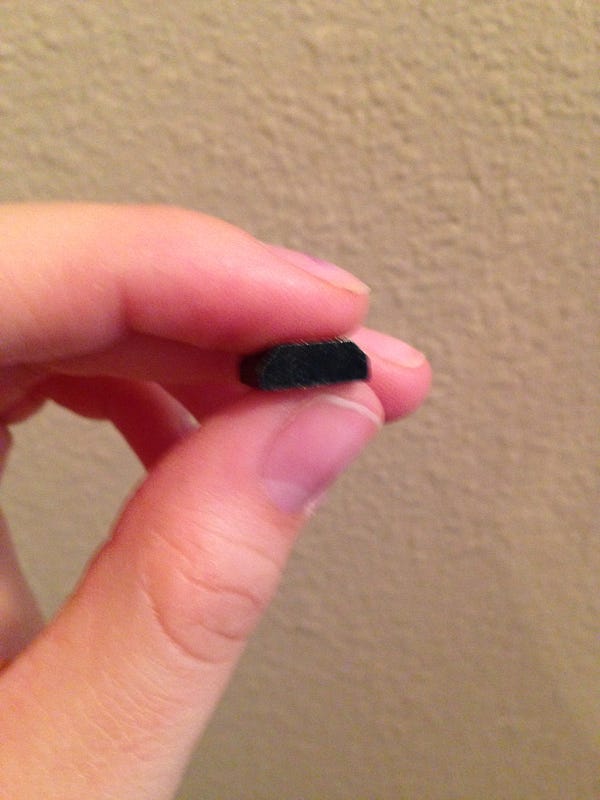
Once the camera is mounted, space the tripods the distance that slide arm stretches. Remove the plate that the camera mounts to. In the pile of little knick knacks that the slide arm came with, there should be a beveled bolt similar to the one pictured above. Slide the bolt into the thread that sits in the tripod plate. The bolt will slide into the slide arm track fairly easily, it it doesn’t, give it a little wiggle but don’t force it.
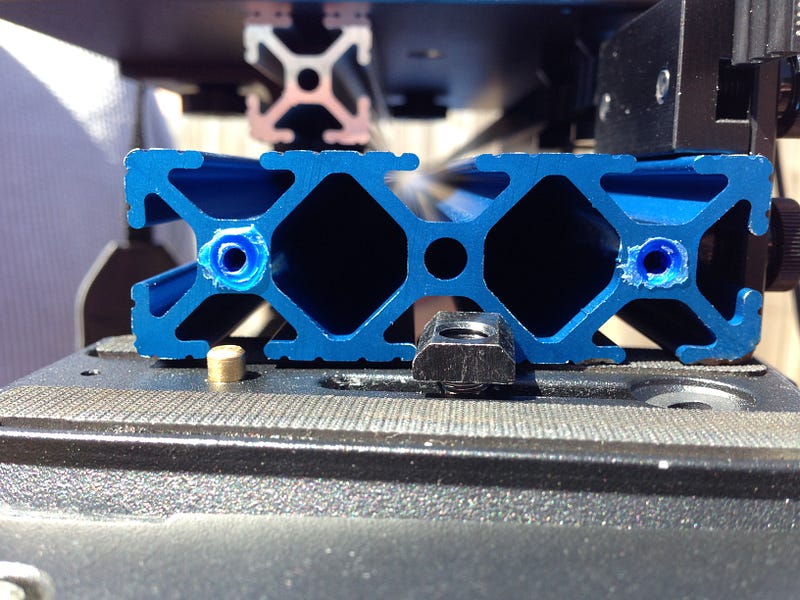
Once both the plates from each of the tripods are attached on both ends attach the plates back onto the tripod. Slide the plate with the mounted camera onto the slide arm track.
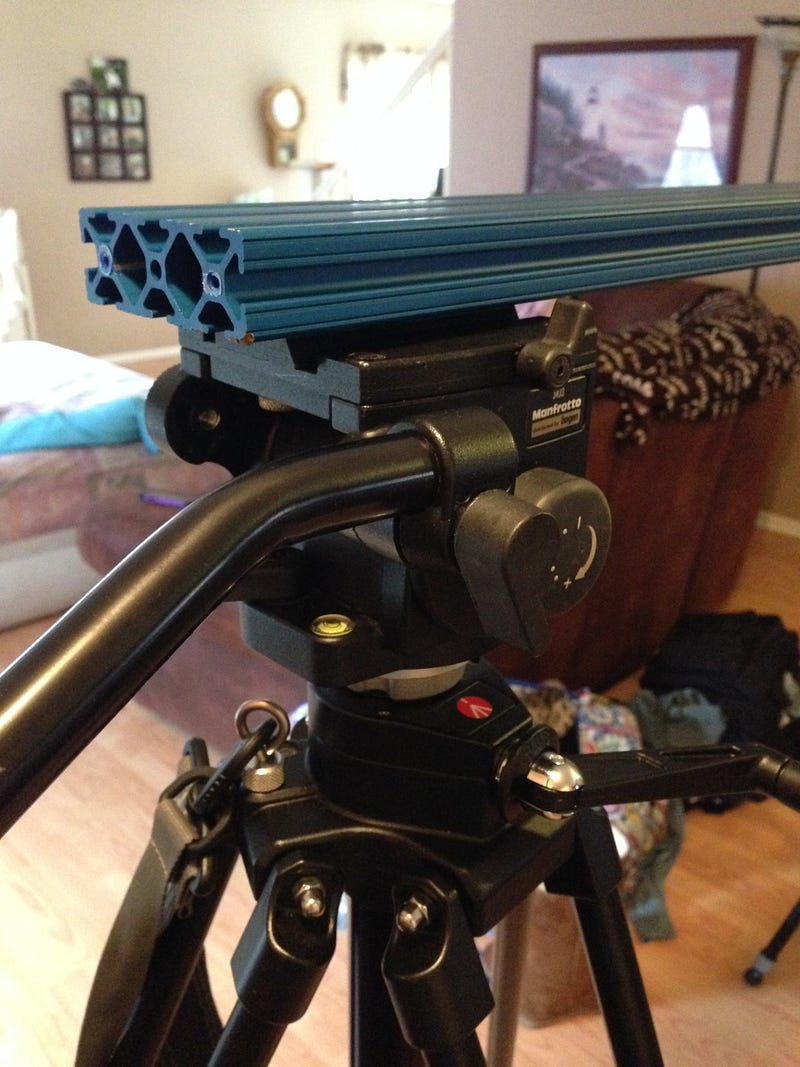
The next step is to attach the gear strip to the slide arm track and wire it through the gears. When wiring the strip make sure that the end caps with the four bolts are secured onto the slide arm track first (pictured below). Attach the strip into the gear securing only on the opposite end of the plate.
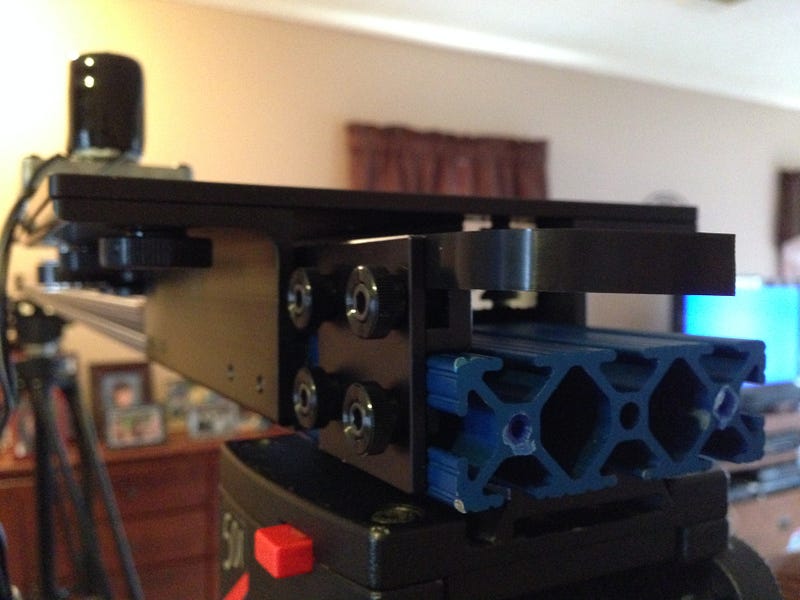
The teeth in the strip should line up directly into the end cap. Then screw the end cap bolts to the right to tighten the grip.
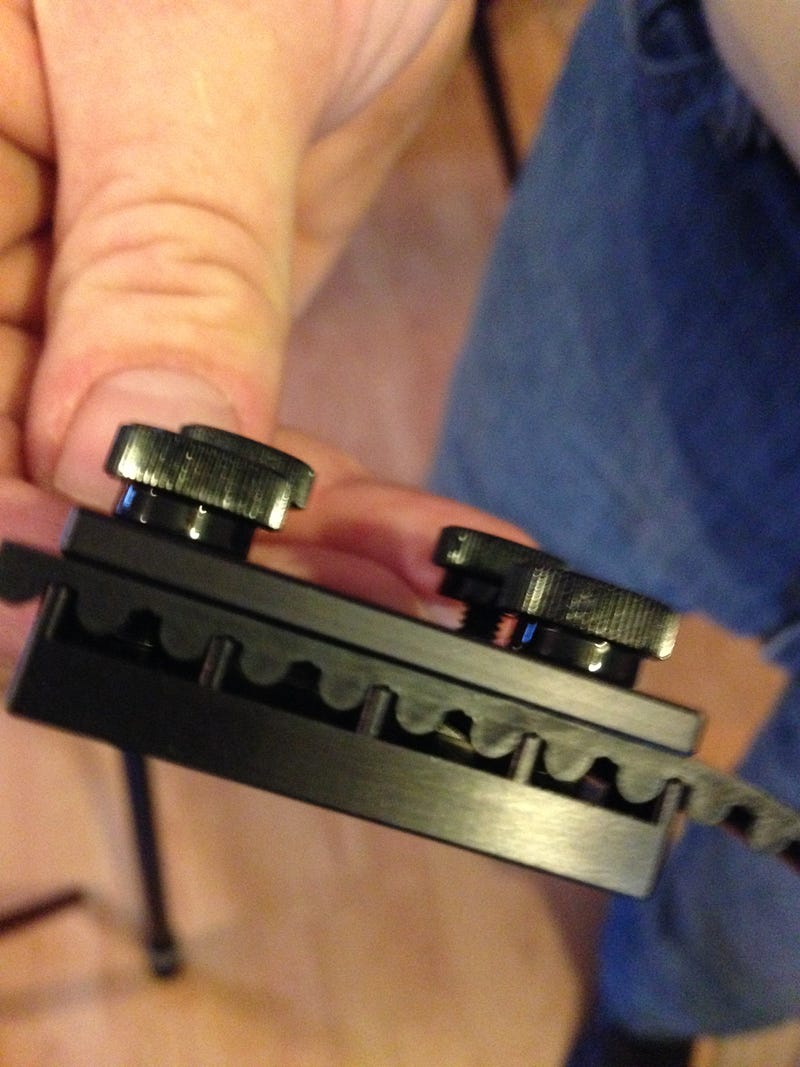
With the remaining lose end of the strip pull it along the slide arm plate and pull it under the plate with the camera and wire it through the gears like it is pictured below.
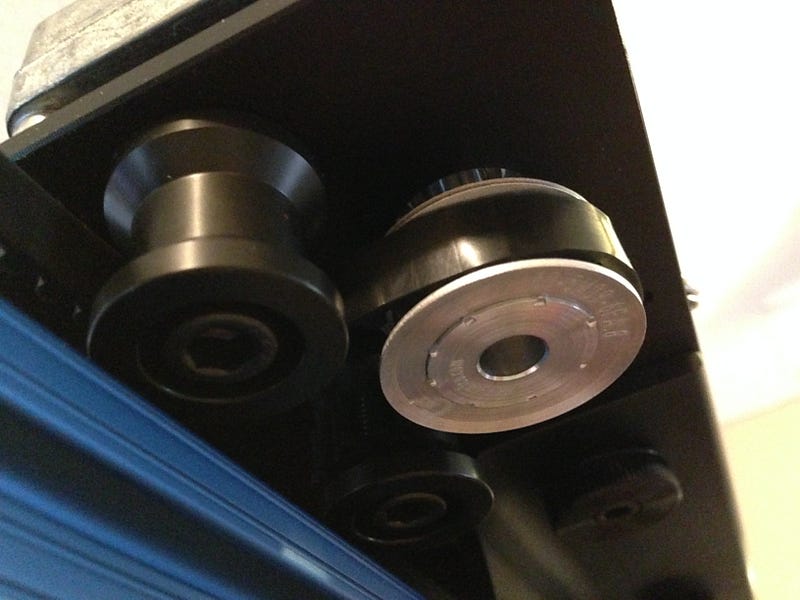
Then secure the end of the strip into the second end cap just like the first one.
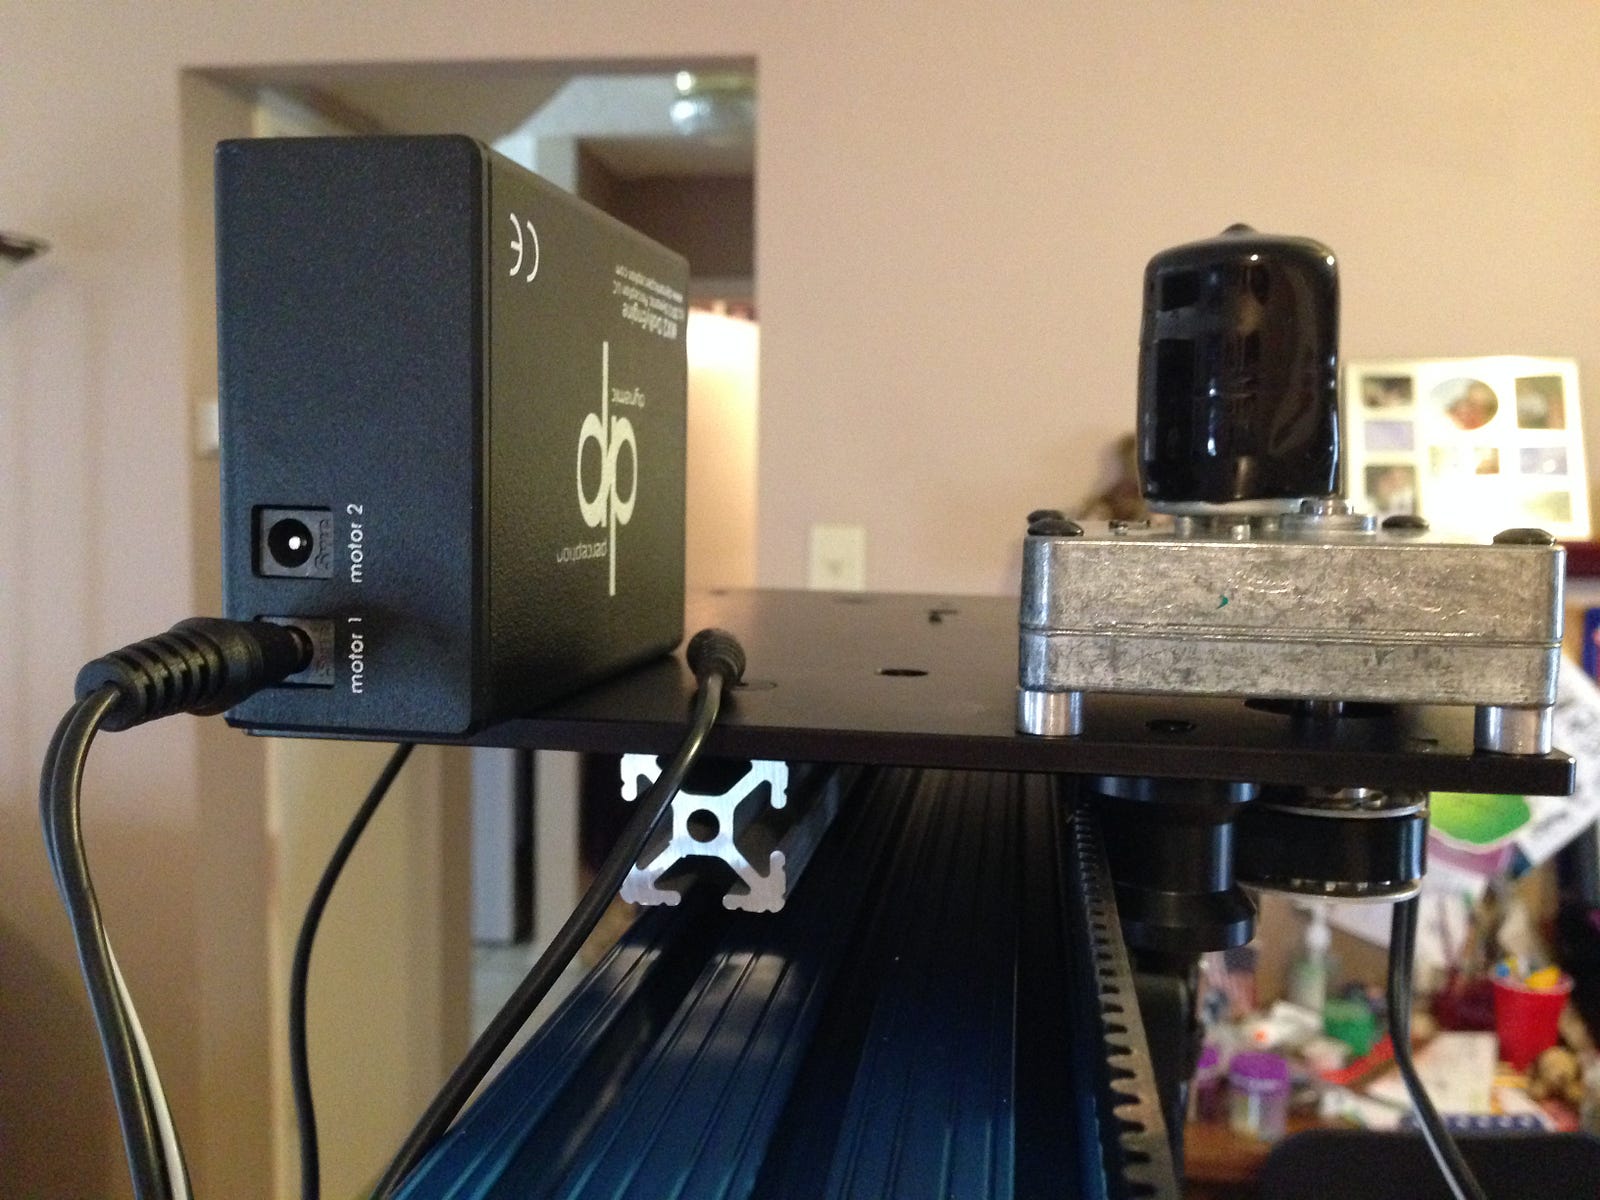
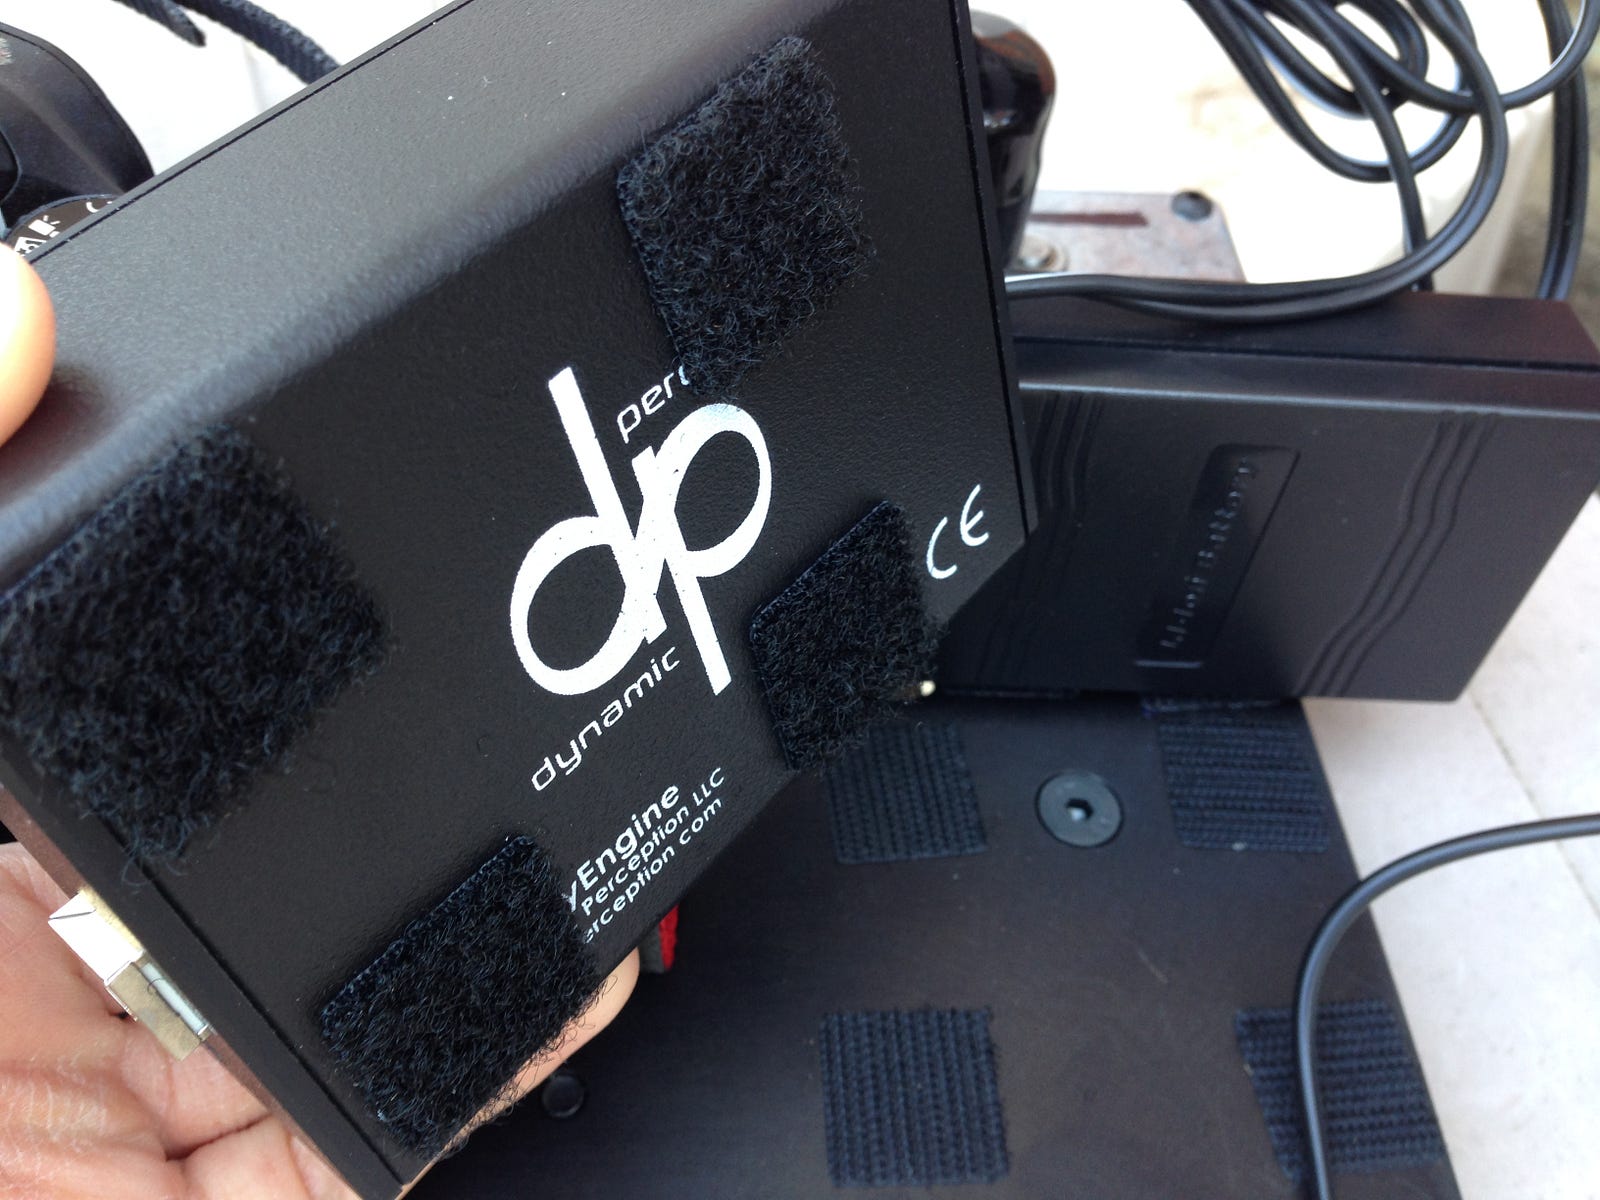
Now that everything is pretty much set in place, you have to attach the battery pack and timer onto the plate. Here’s where you can take my advice or leave it. If you are shooting horizontally with the slide arm then just resting the timer and battery on the plate should be safe. However, if you want to shoot with the slide arm with any type of angle, then you’re going to need to secure the timer and battery so it doesn’t fall off the plate while it’s in motion. I recommend attaching 3M Velcro strips on the pieces and on the plate so they are securely mounted next to the camera.

Now a second bit of advice is the suggestion of incorporating twist ties. The wires from the battery pack are a lot longer than the distance needed since it’s mounted to the plate. To avoid getting the wires caught in the slide arm track, use a twist tie to keep the wires compact and tuck them onto the plate, freeing the track.
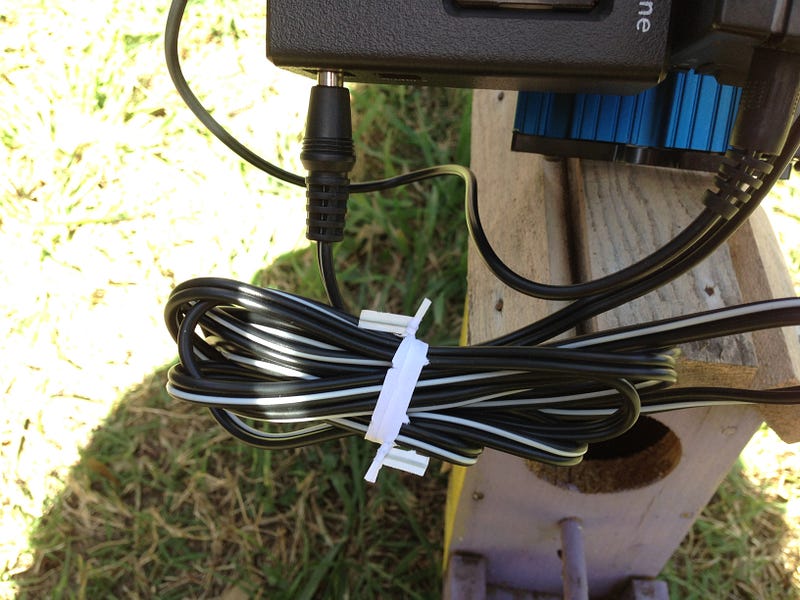
Finally, the easiest step of the entire tutorial: plug the battery into the timer and plug the timer into the motor on the plate. (It’s usually labeled) I would usually go on to elaborate how to operate the timer that tells the slide arm how quickly it needs to move, but every timer is different.
Once you get down the basics of operating the timer, you’re all set to start exploring the various aspects of film.
